

10 Techniques to Randomize Revit Facades with Dynamo & Python
Haven’t written about facades in a while
It’s been a while since I last shared anything about facades. Today’s post is the perfect opportunity to rectify that.
I’ll show how a bit of basic algebra can boost your design process, how a simple Python script can make your life easier, and how to get the most out of Revit Curtain Panels.
I’ve tried to keep everything clear and to the point.
Enjoy the read, and don’t forget to share it with your colleagues.
How it all started
A while back, I experimented with panel randomization and even wrote about it on BIM Pure (by Nicolas Catiler). I also mentioned similar approaches in a few older posts.
What pulled me back into this topic was this (not exactly new, but still super relevant) article: Dynamo and Revit Workflow PDX Airport Concourse E Façade Design Case Study.
I was especially intrigued by the panels and how the team tried to randomize them.
Honestly, it’s a fascinating article — highly recommend giving it a read.
As for me, it sparked a bit of a competitive itch: “What if I could pull it all off in a single Dynamo + Python script?”
And that’s how this new little adventure began.
Building the foundation
For these kinds of experiments, I typically use a Conceptual Mass family. It’s as clean as it gets — no extra baggage, just the elements I need. Perfect for prototyping and quickly testing out ideas.
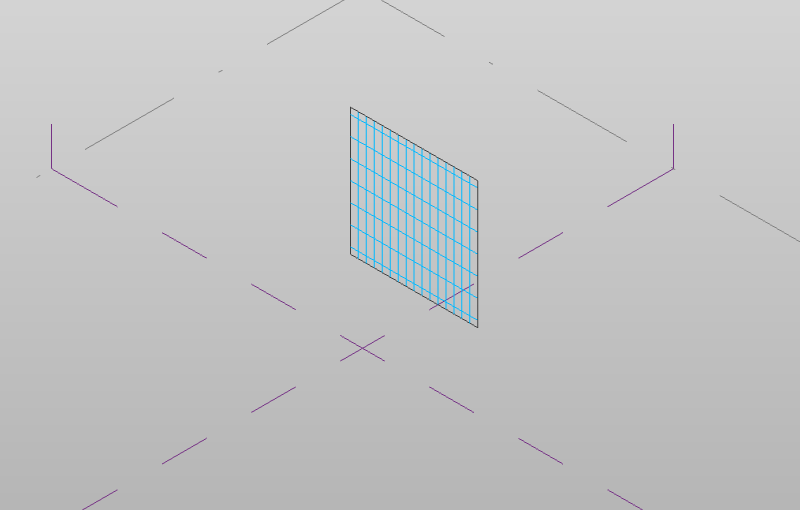
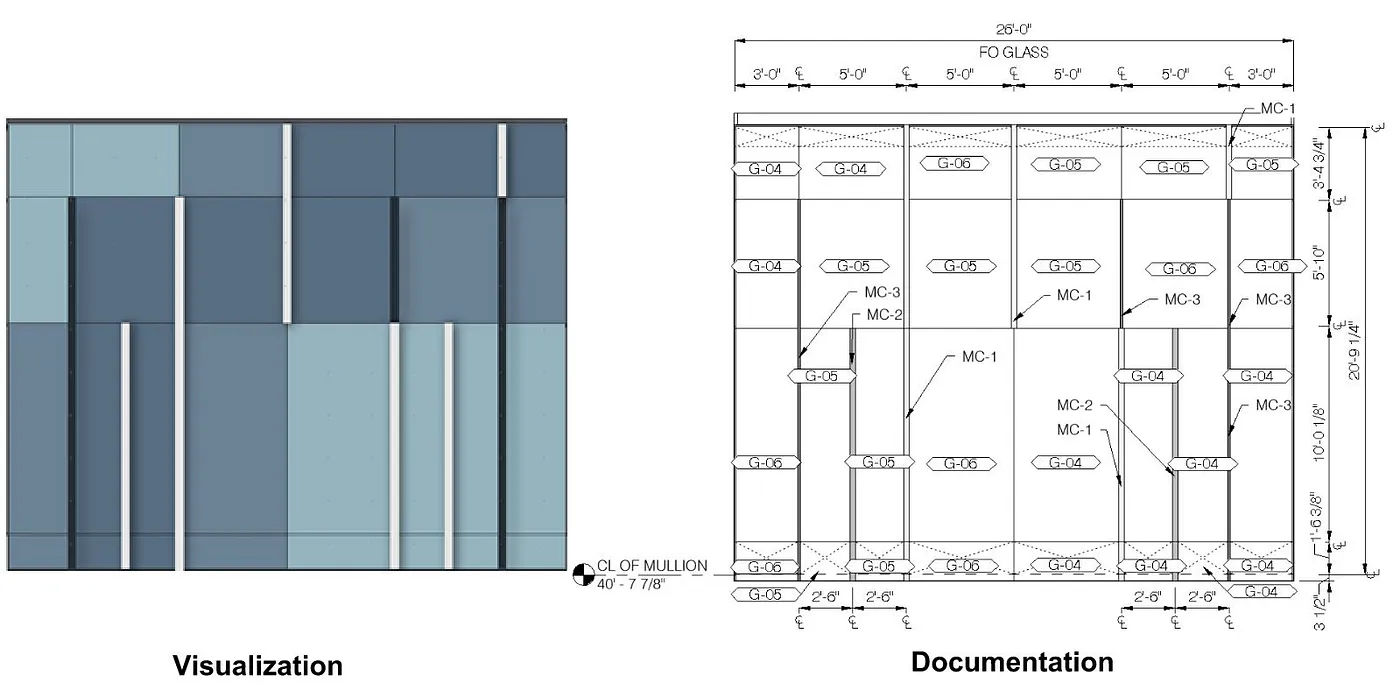
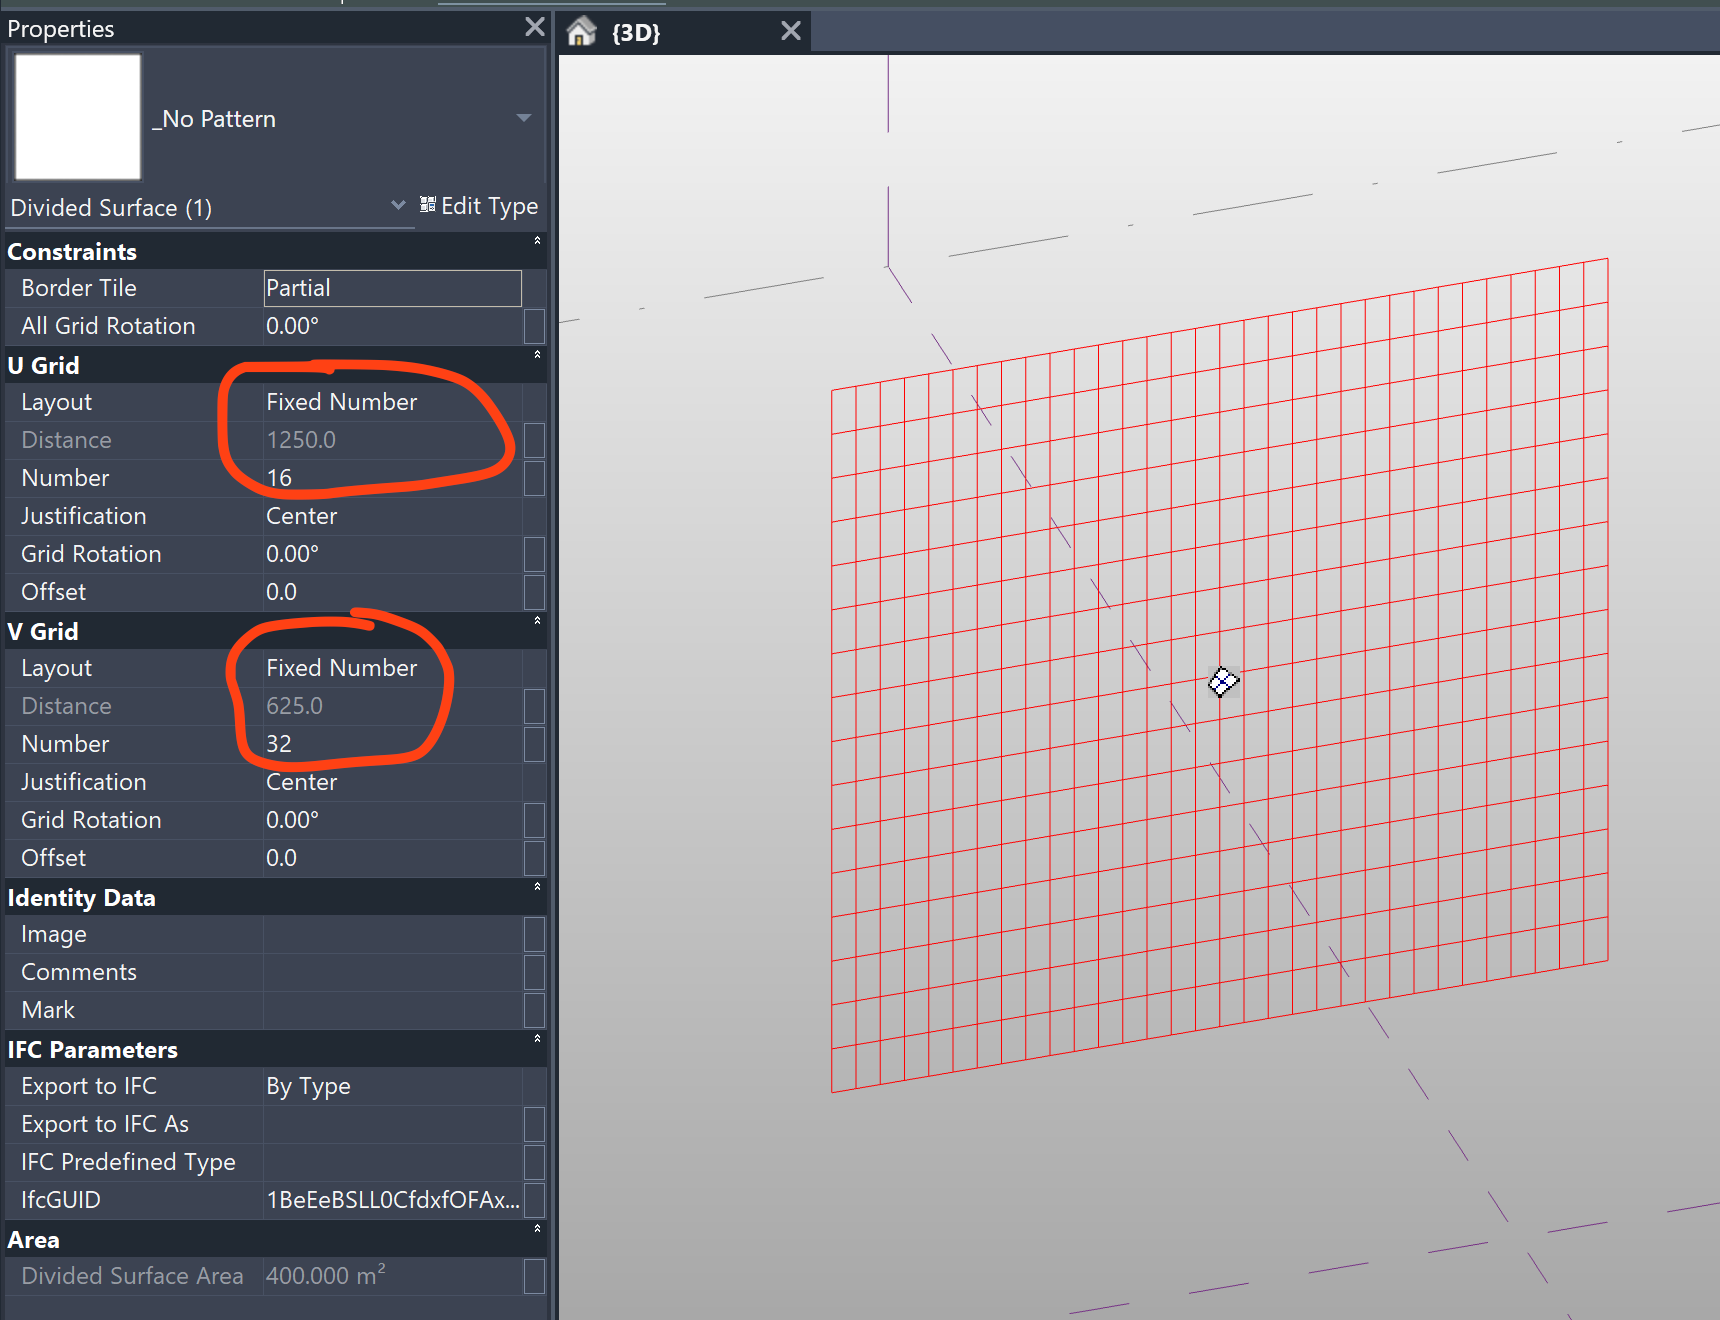
The first thing I do is break everything down into a Divided Surface and set up the grid to roughly match the look I’m aiming for.
I wouldn’t recommend jumping straight into a grid with thousands of panels. For one, you don’t know yet how the script will behave. And if Revit freezes (which it probably will at some point), you’ll have to kill it via Task Manager. Let’s be honest — most people rarely save their experiments midway.
So it’s smarter to start small. It’s safer and makes debugging way easier.
I’ll keep this short so we don’t waste time.
Jump into Create Family, pick Curtain Panel Pattern Based, and set up four types of the same panel. The only thing we change is the material — we’re visual people, after all, so it’s important to see results right away.
Now load everything back into your Conceptual Mass — and we’re ready for the real magic in Dynamo.
For the record, I’m using Revit 2025 along with the latest Dynamo version available for it. That’s not just a casual note: I’ll be sharing all the source files below so you can download them and try it out yourself.
Now open up Dynamo. From here, it’s pretty straightforward — we’re working with just four main blocks of nodes.
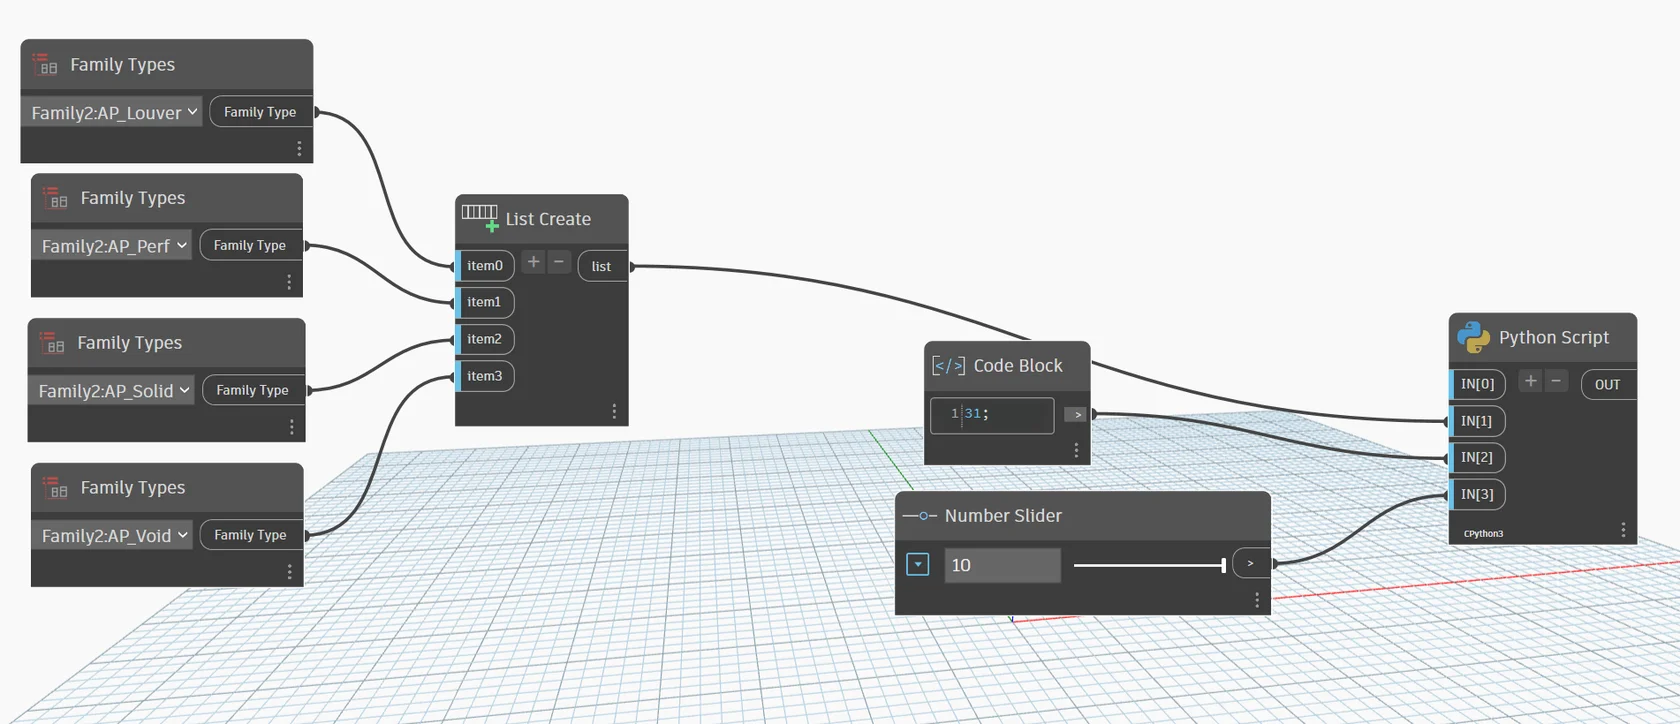
It’s all pretty simple:
You pick the panel types you want to include in the randomization, set a seed (so you can shuffle things but still get repeatable results), and specify the randomization mode via IN[3].
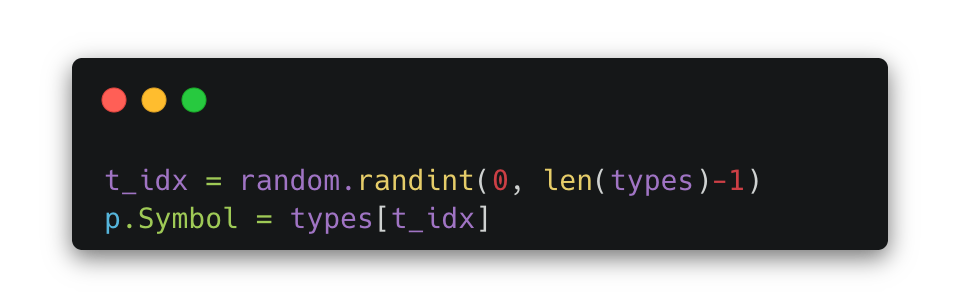
Sure, I could’ve packed everything into a single Python script, but I decided not to overcomplicate it. Sometimes it’s just nice to slide a few controls around and instantly see the outcome.
The patterns
After a bit of analysis, I settled on 10 main pattern types.
Each one is tied to a specific value of the IN[3] input parameter.

Next up - a detailed breakdown of each one. With pictures, of course.
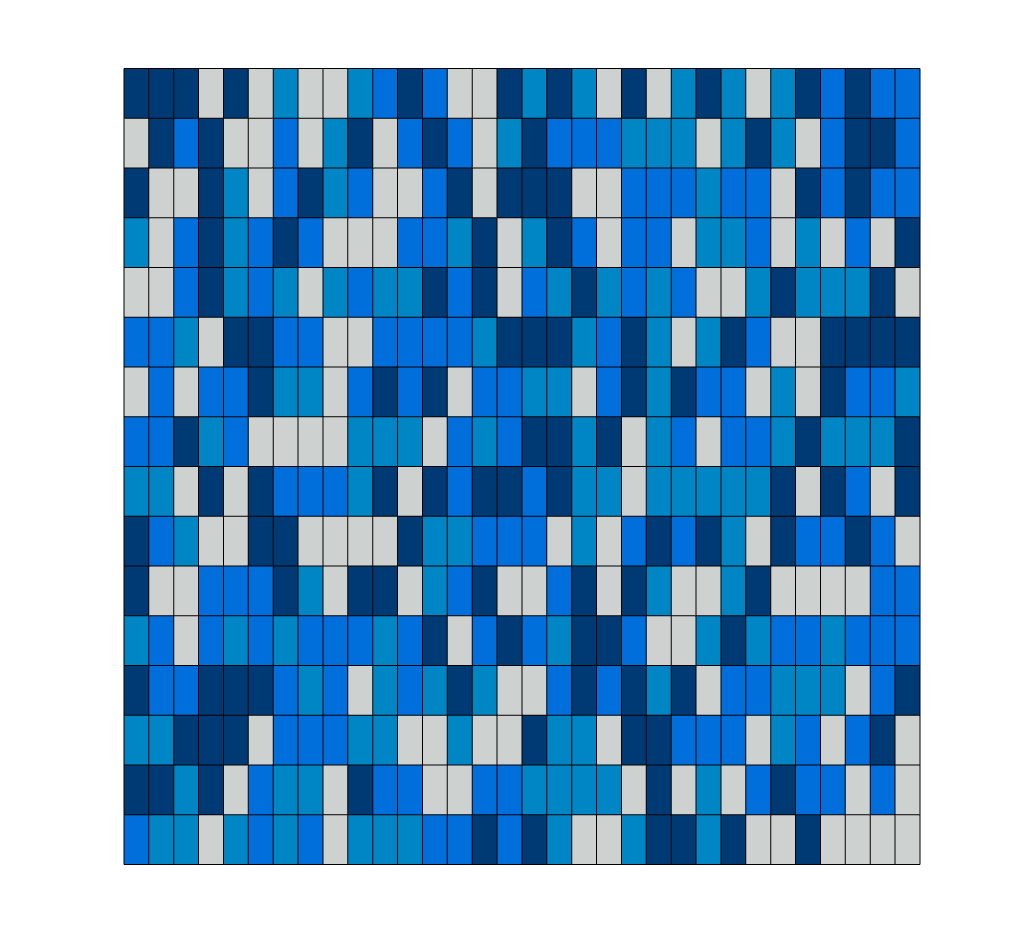
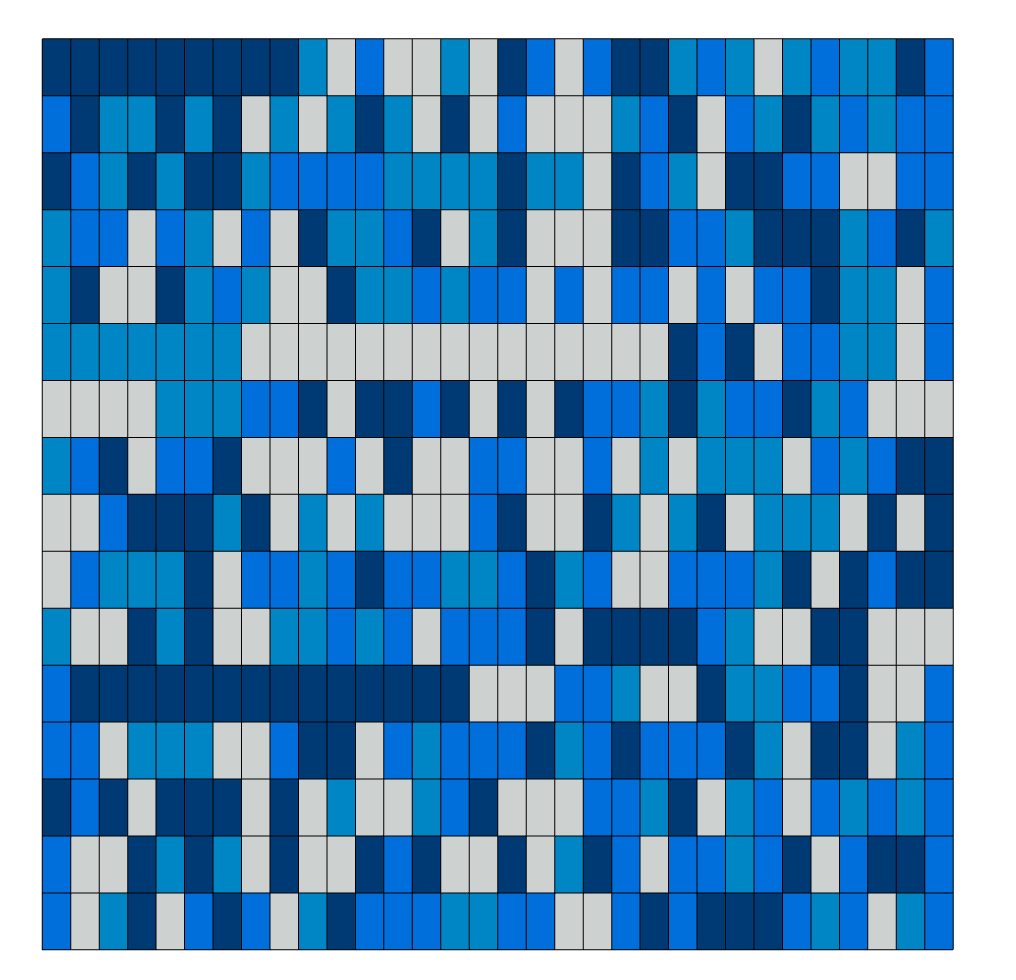
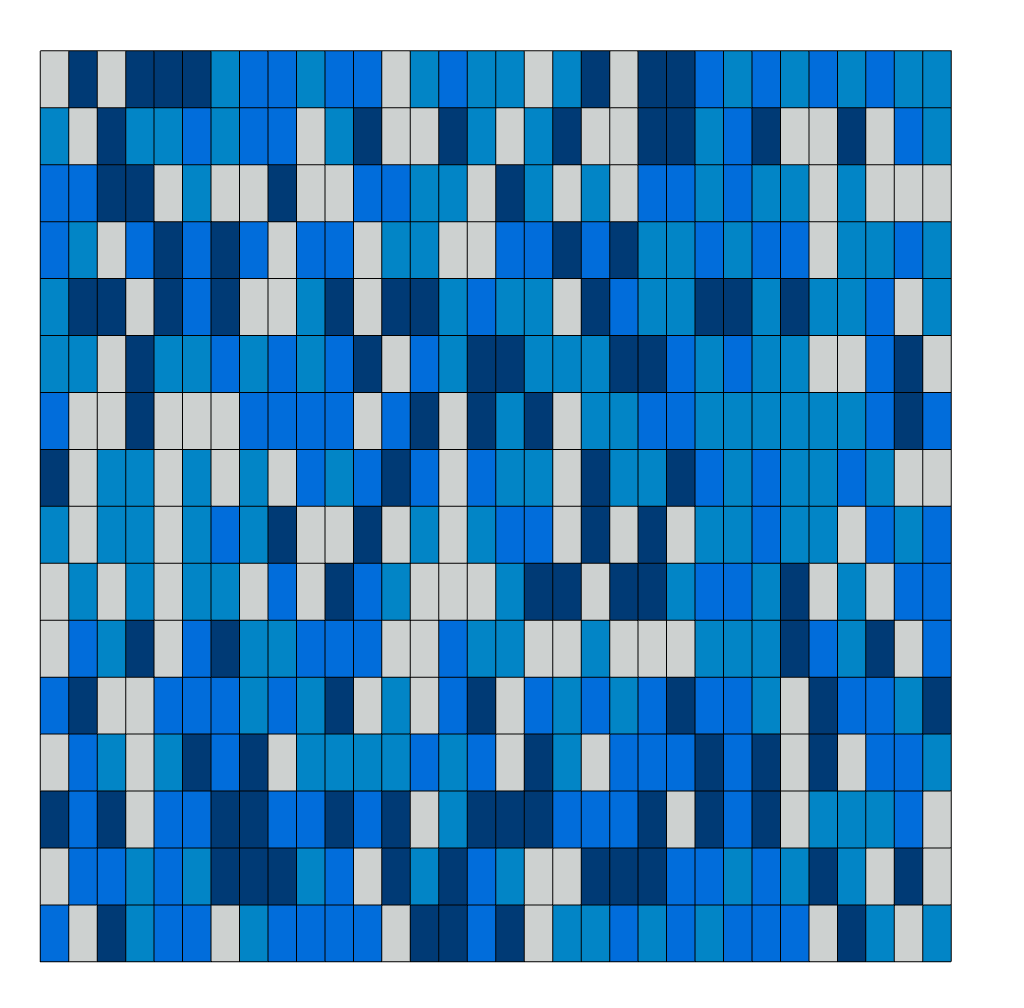
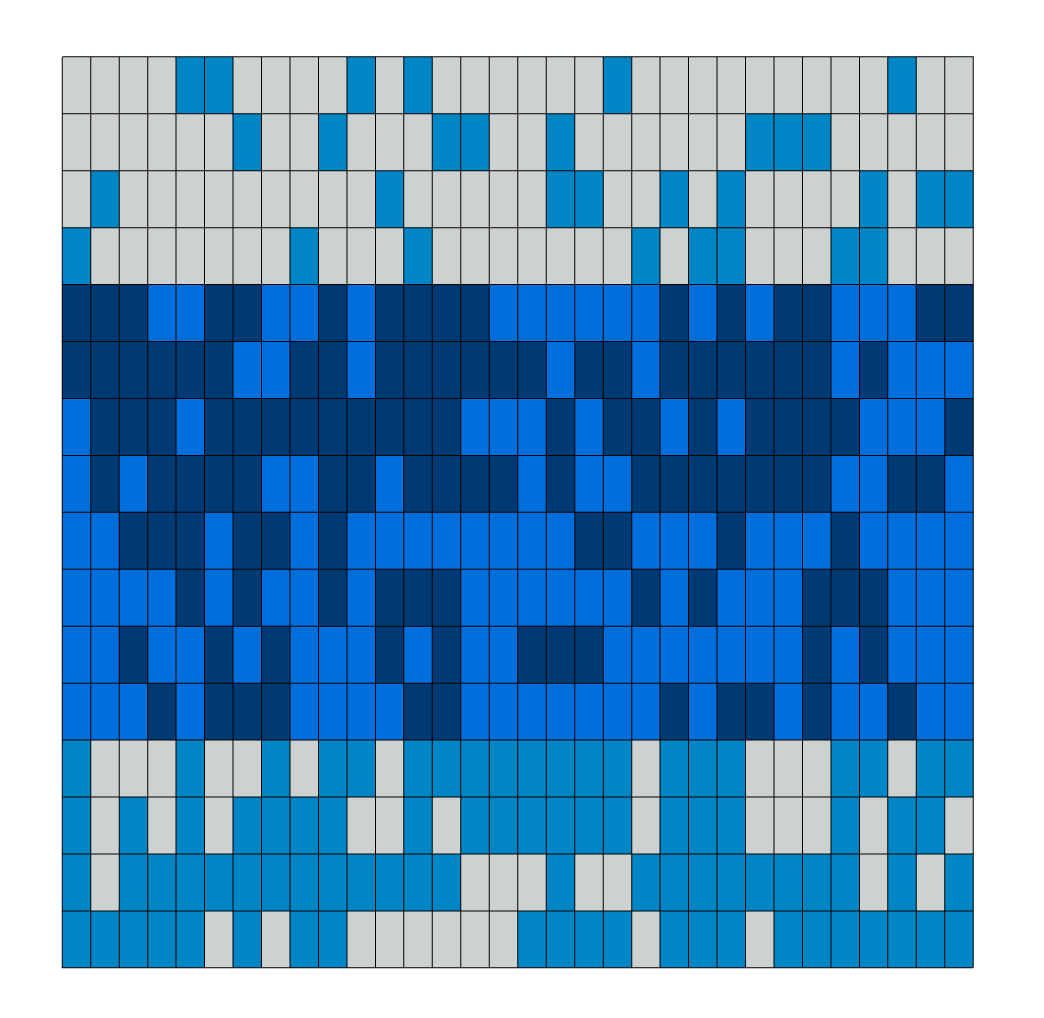
1. Fully random
Each panel gets a completely random type.
The result is a chaotic, colorful facade — perfect for quick tests or whenever you want a lively, unstructured look.
2. Gradient by height (Z)
The higher the panel, the “lighter” its type — or the reverse, depending on your settings.
It’s great for facades where you want to visually lighten the top of the building or, conversely, give more weight to the bottom for a stronger, grounded feel.


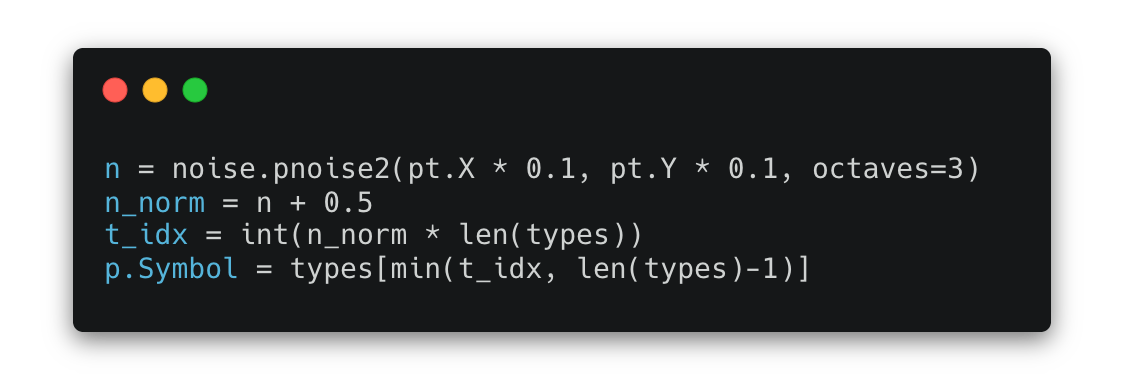
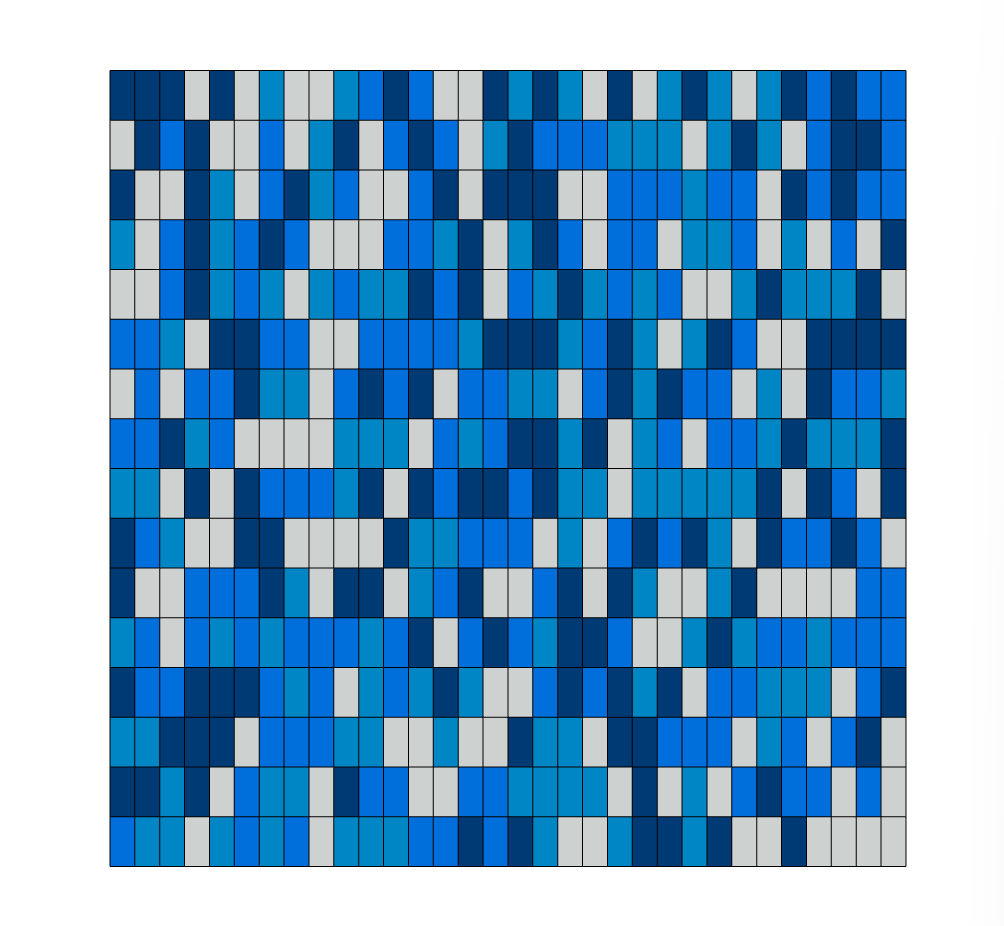
3. Perlin noise
Uses 2D noise to create smooth, organic patches.
It ends up looking a bit like camouflage or scattered vegetation — perfect for facades with a more “natural” vibe.
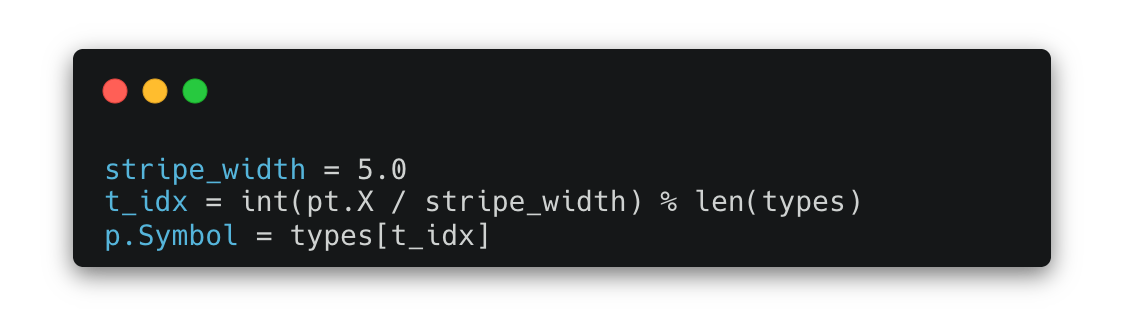
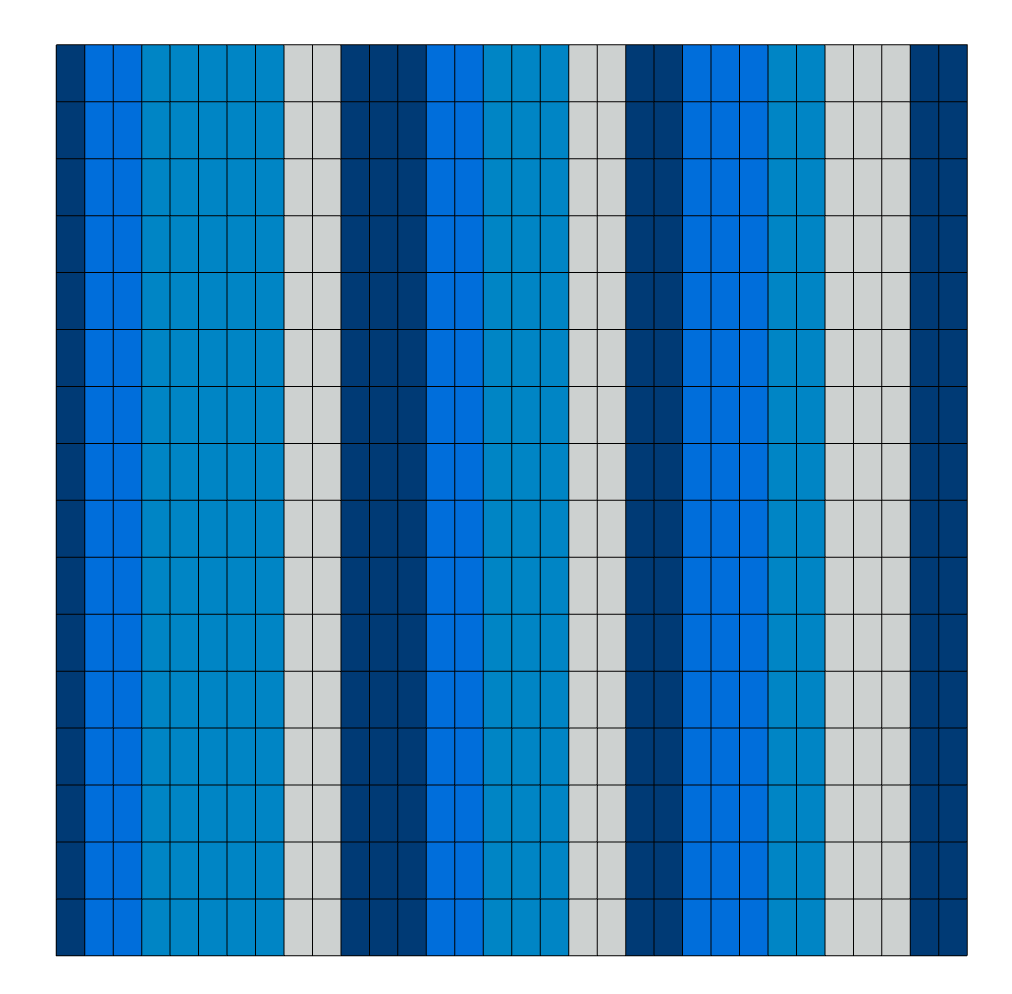
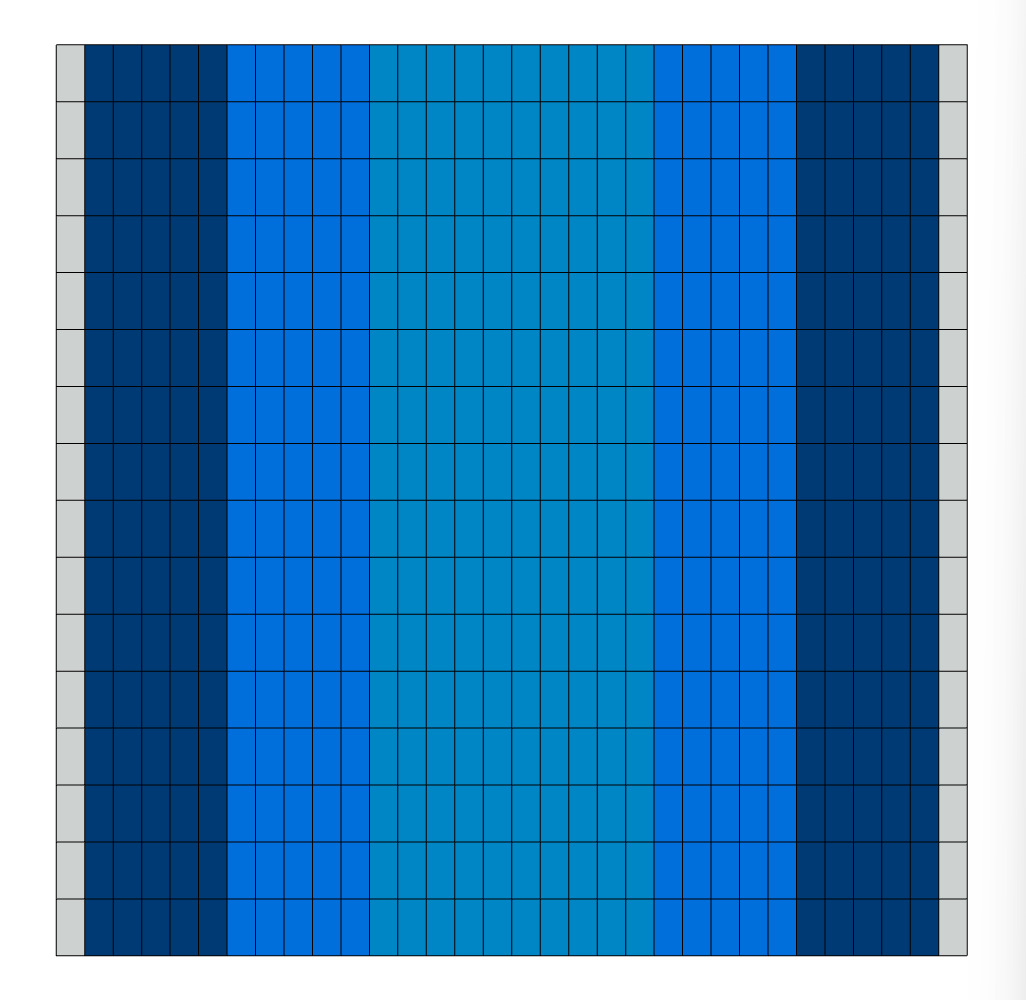
4. Stripes along X
A simple idea: divide the facade into vertical stripes, each with different panel types.
It’s a common approach in modular facades, adding rhythm and a clear sense of structure.
5. Conway-like chains
Panels form clusters of the same type that randomly continue or break off.
It looks like “living” islands across the facade, as if the pattern is growing and evolving on its own.
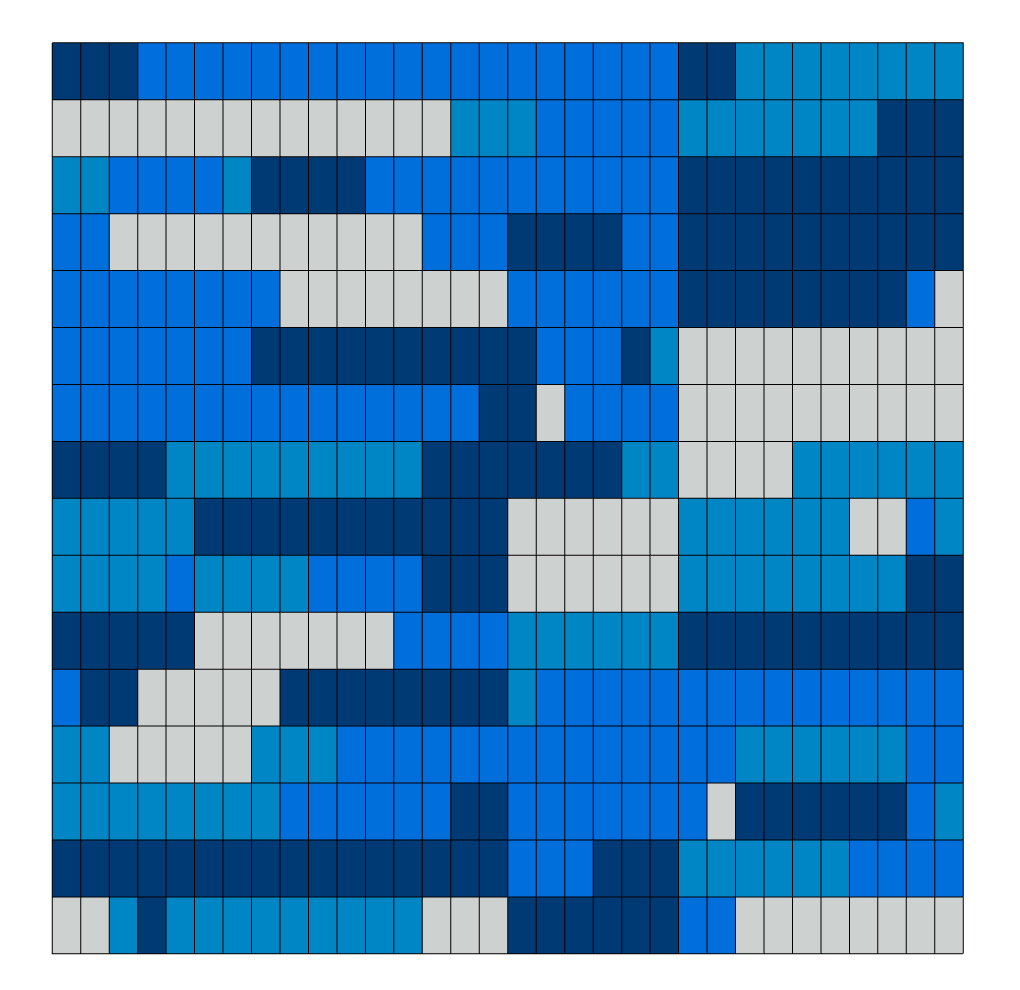
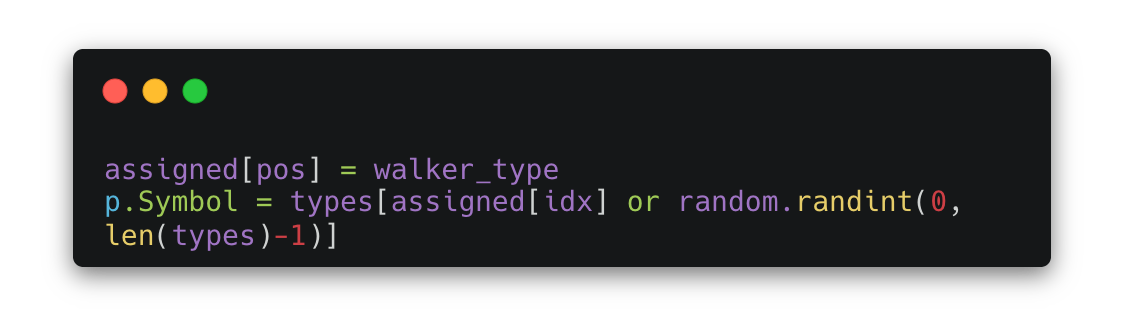
6. Random walks
This simulates “ants” wandering across the facade, leaving a trail behind them.
The result is winding lines of the same panel type — a bit chaotic, but full of life.
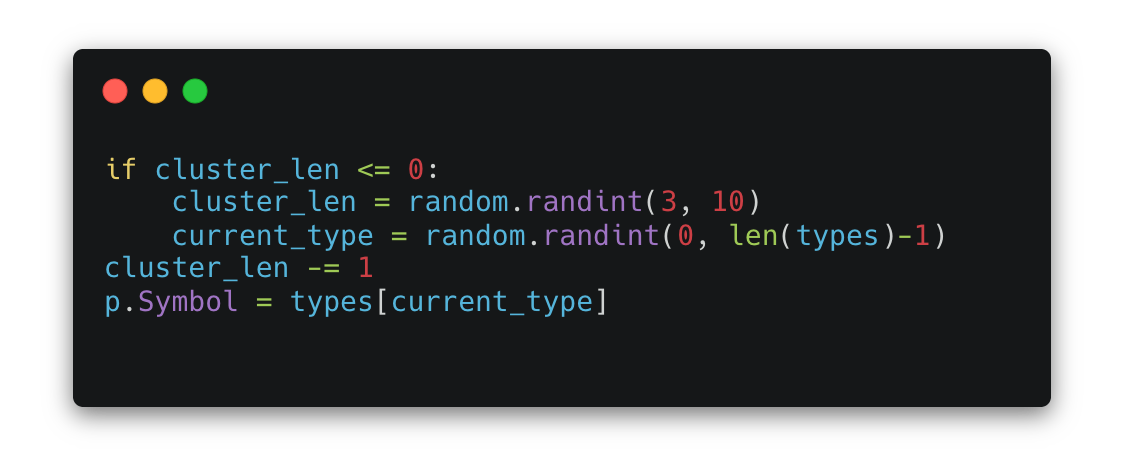
7. Alternating clusters
Groups of the same panel type form across the facade, each with varying lengths.
It’s reminiscent of modular sequences you often see in residential buildings.
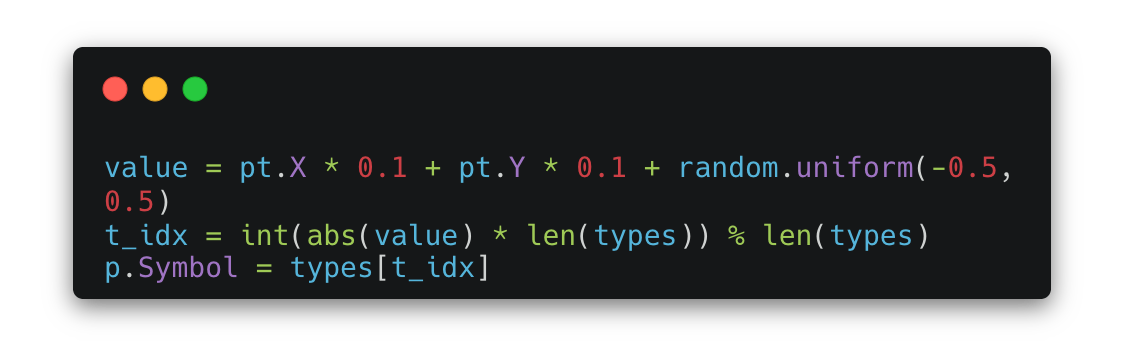
8. Nervous lines (X + Y + noise)
Combining the X and Y coordinates with noise creates unpredictable, jagged lines.
The effect is a bit “nervous” — like a quick, energetic architectural sketch.
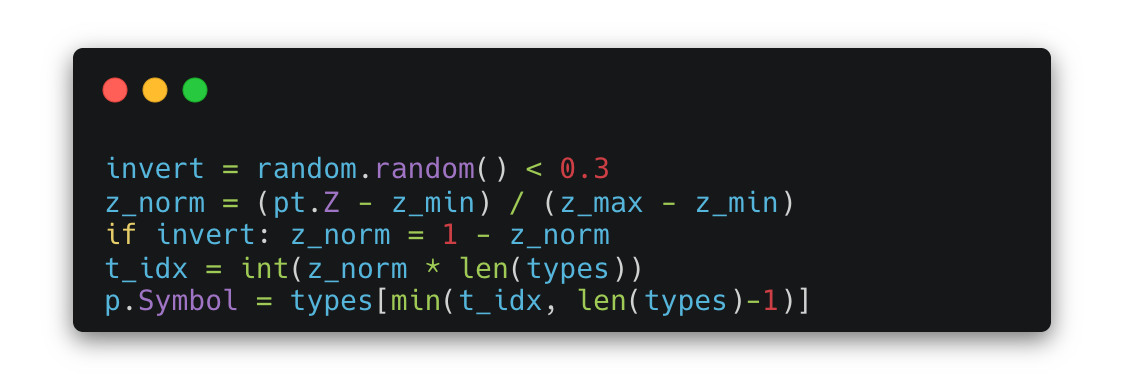
9. Inverted gradient
Similar to a standard gradient, but with a chance to “flip” certain areas.
This creates zones where the logic is deliberately broken, making the facade look more playful and unexpected.
10. Modulation from the center
The panel type is driven by its distance from the center of the facade.
It creates an effect of concentric rings or ripples — almost like the facade is “spreading out” from the middle.

You can add as many pattern algorithms as you want — I just stopped at these ten for now, which are more than enough for experiments. But if you’re up for it, you can always write your own and try out other interesting ideas.
For example, it’s pretty easy to create an algorithm that mimics paving stones by simply dividing the grid the right way.
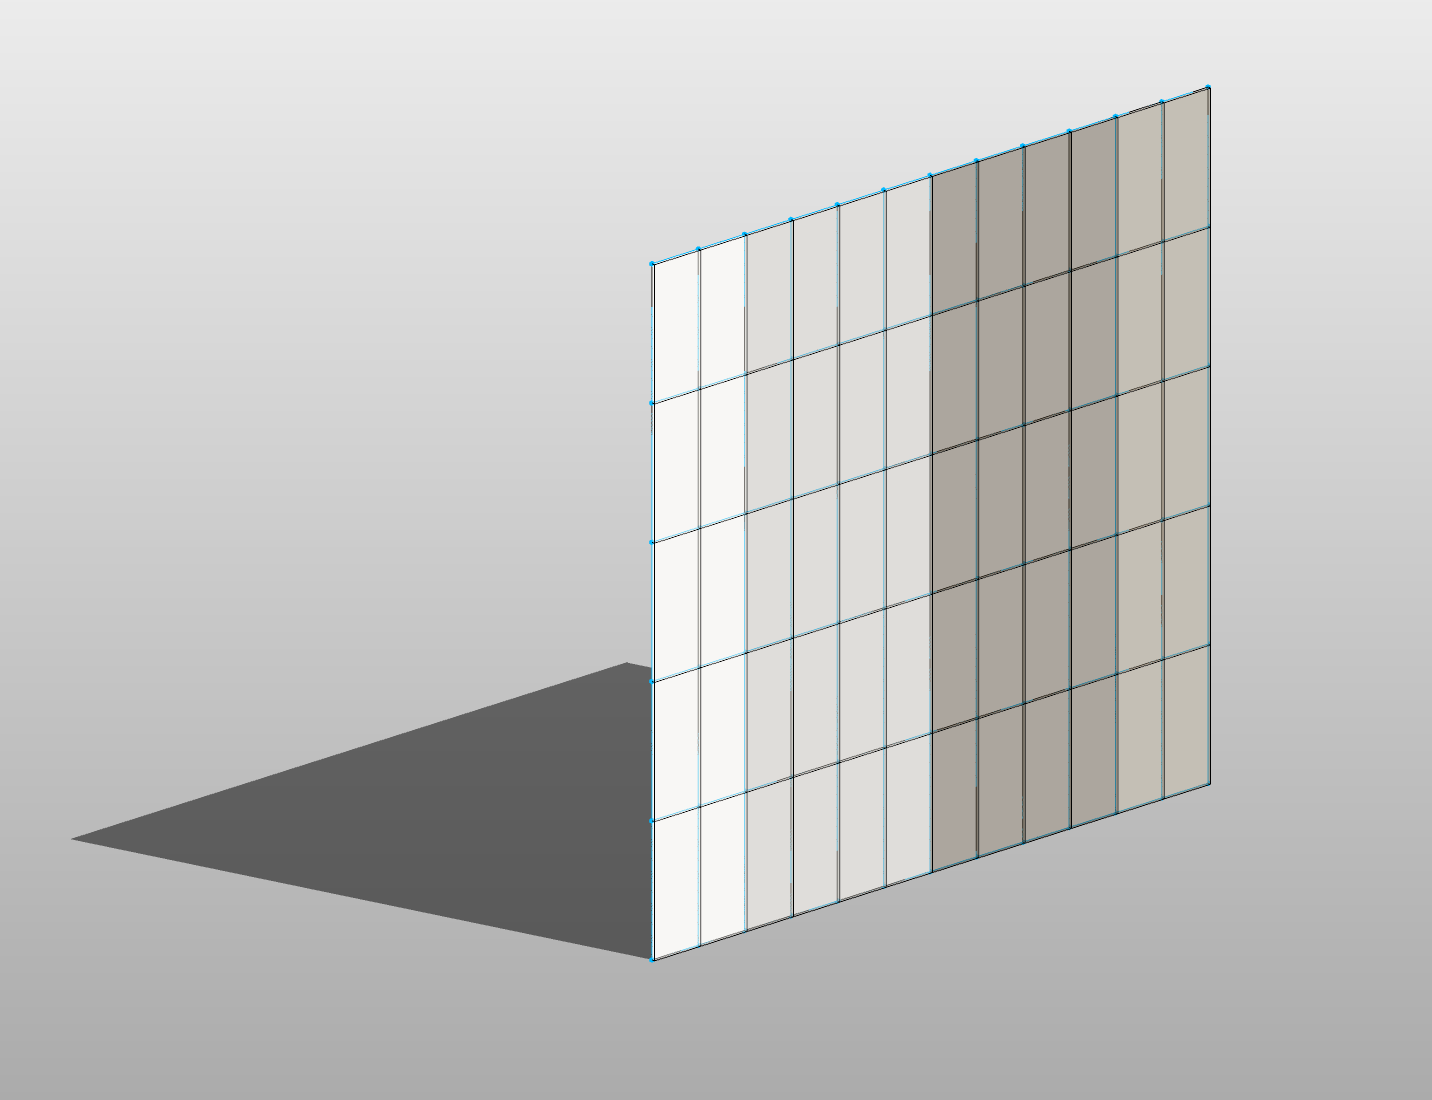
By the way, I decided to throw in an 11th pattern type that builds a vertical grid, and also swapped to a nicer color palette. Why not?
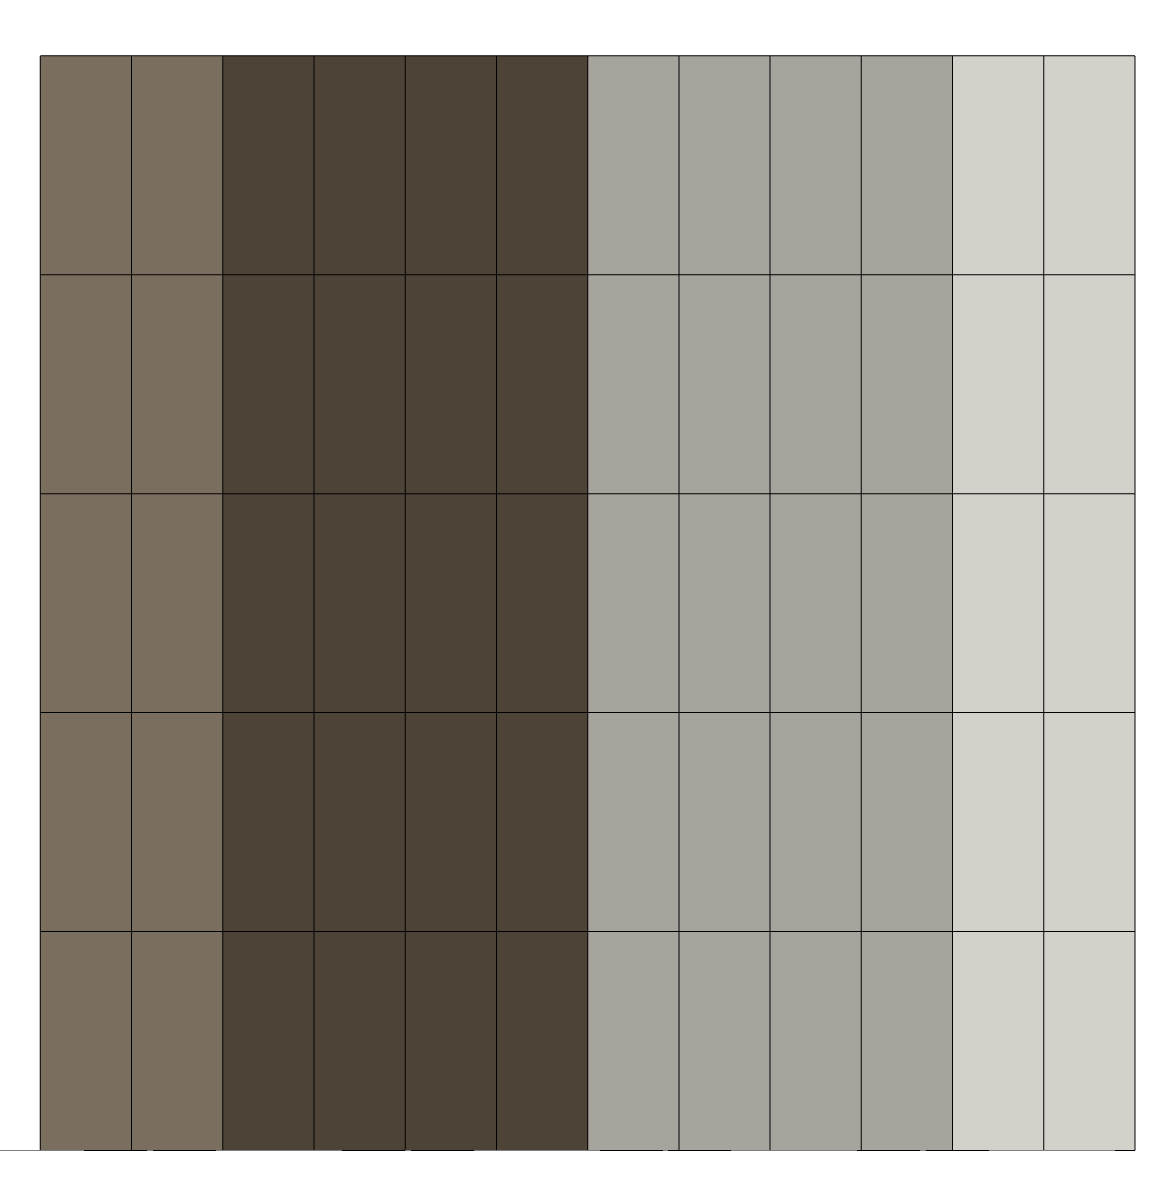
With this simple yet powerful approach, you can achieve a perfect — and most importantly, automatic, not manual — panel layout.
All it takes is a bit of patience and a little bit of code.
And if you want to dive deeper into programming, I highly recommend Erik Frints’ courses. He does a great job breaking down how to work with APIs and automate tasks in Revit.
In conclusion, I wouldn’t be myself if I didn’t benchmark how different algorithm approaches perform in Dynamo. To keep things consistent, I tested this on 10,000 panels and 4 types, running the generation across these elements.
Compared the two main strategies:
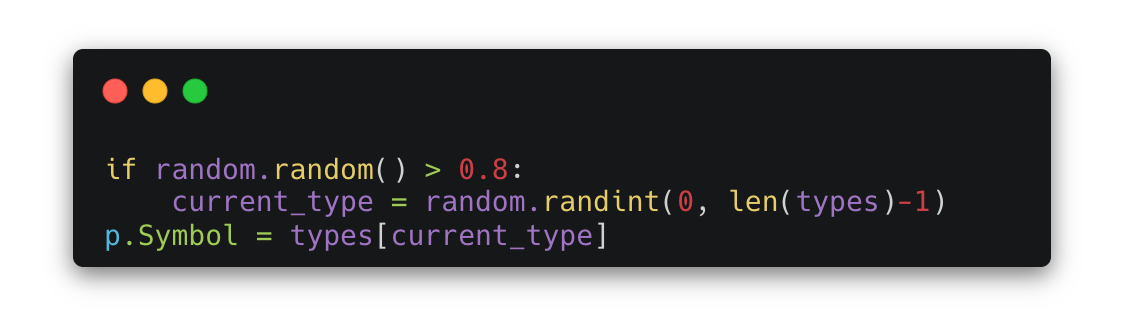
- Using `ChangeTypeId` officially tells Revit to change the type and ensures all relationships and parameters are properly updated.
- Using `p.Symbol = ...`, a more direct assignment that can be faster but sometimes skips deeper checks.
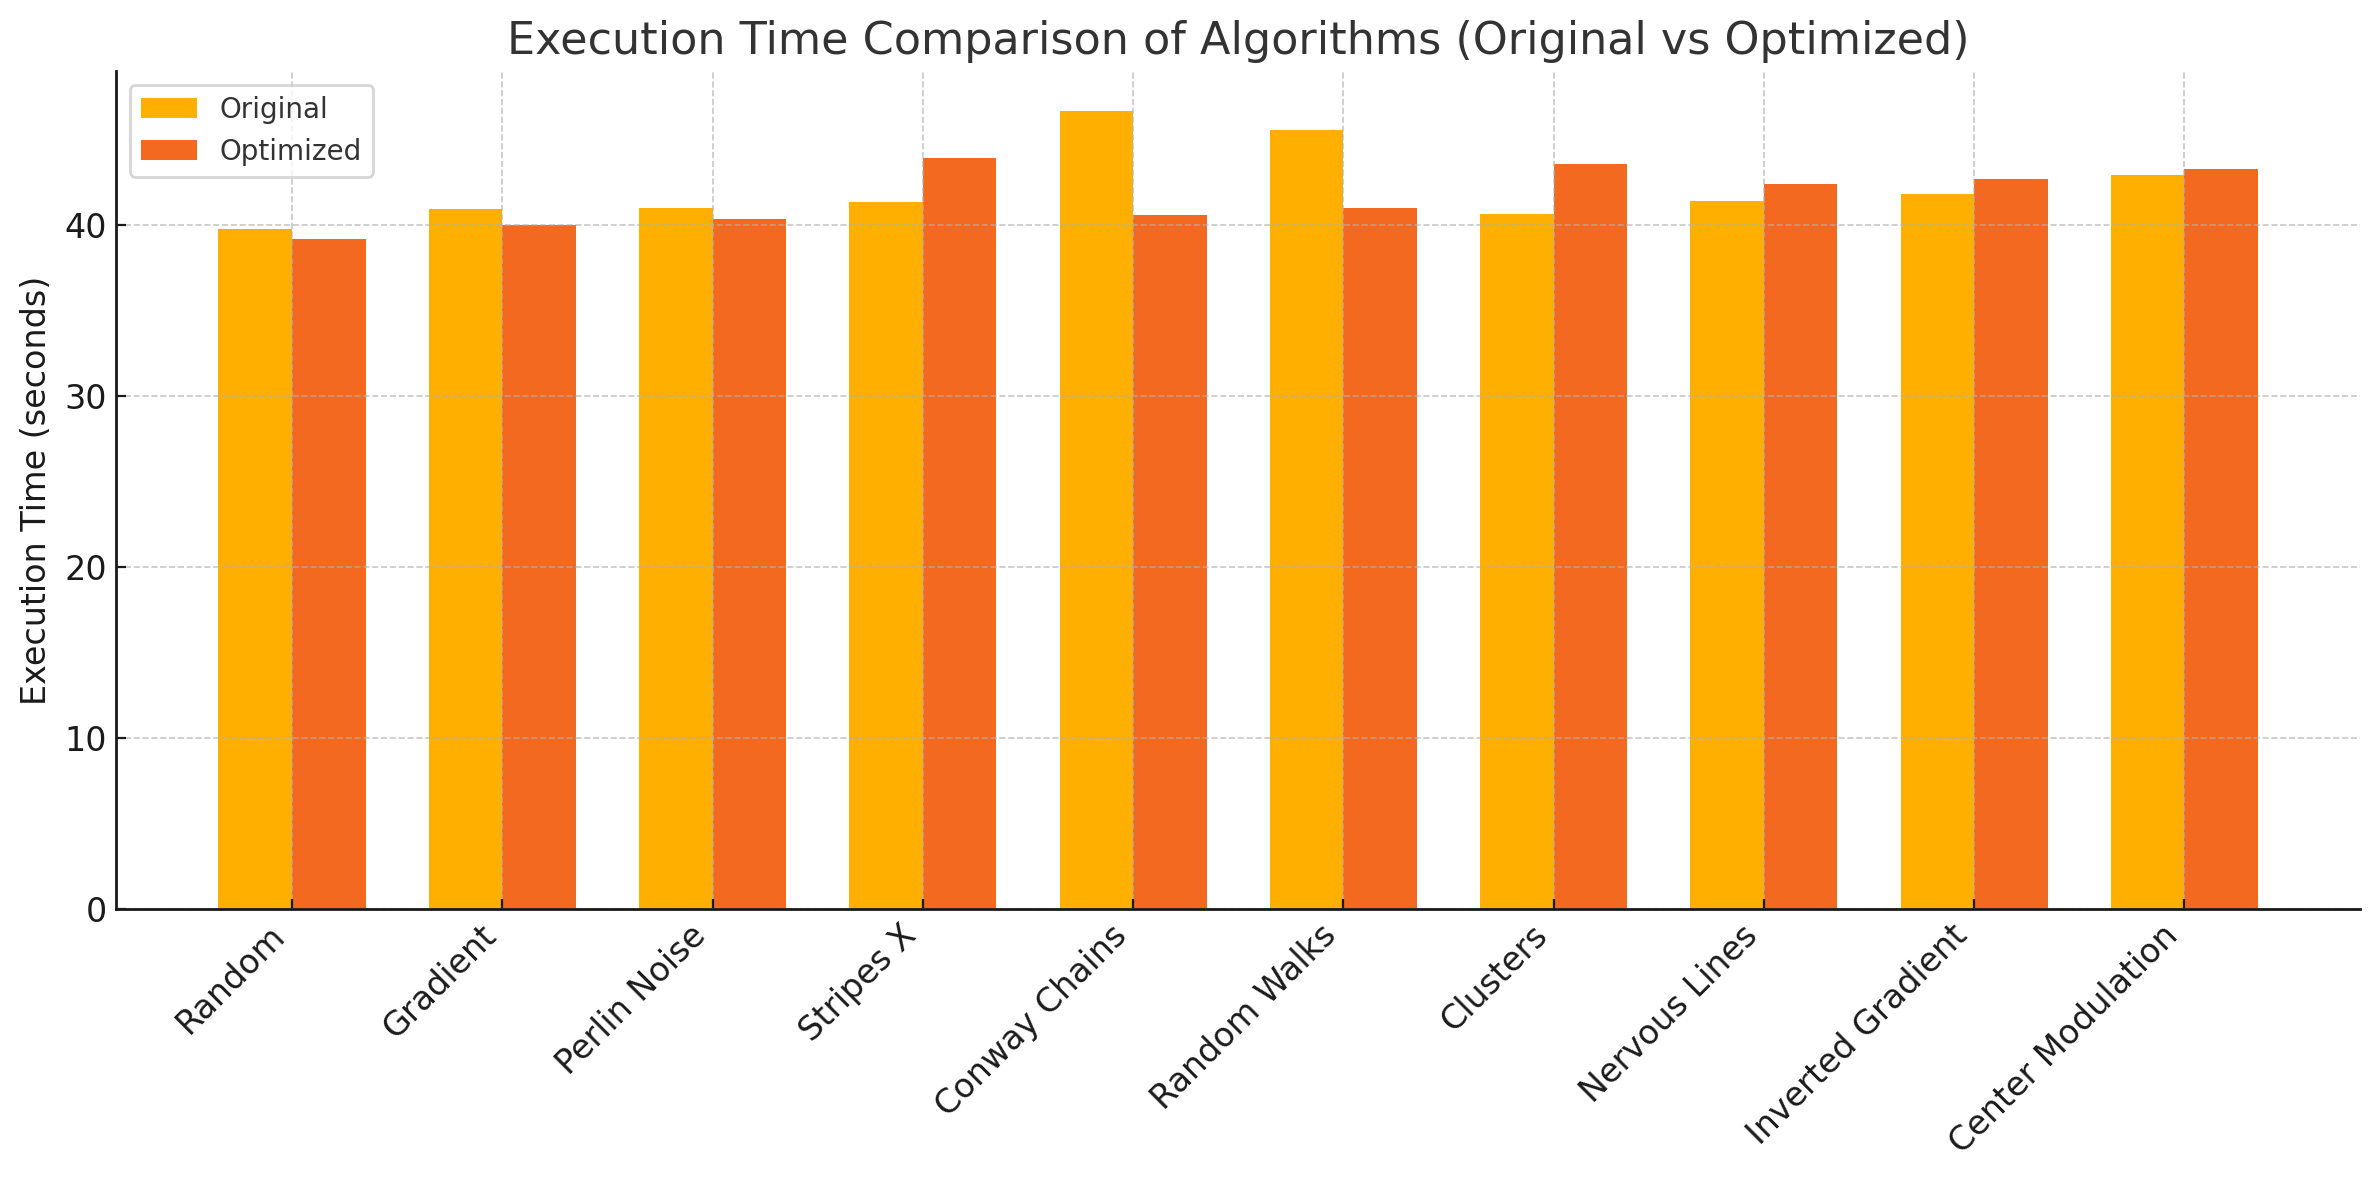
Conclusion:
The optimization shifted how the computations were distributed, but the overall execution time dropped only slightly for most algorithms (on average by about ~2–5%), and in some cases even increased. This is because the main performance bottleneck remains the operation of changing element types, which is inherently heavy and largely unaffected by upfront filtering or data prep.
In other words, the optimization made the code cleaner and easier to manage (by structuring the process into type groups), but it didn’t tackle the real source of the slowdown — the bulk reassignment of panel types via the Revit API. That’s ultimately a question of Revit’s performance limits.
Download all files
You can download the complete set of scripts, example families, and Dynamo files here: